
Improving your smile does not have to be a big, scary project. For many people, it is important to understand the dental bonding procedure steps to achieve a fast and easy way to fix small chips, gaps, or stains in just one visit.
This treatment uses a special tooth-colored plastic to bring back the natural beauty of your teeth.
Because the team barely has to touch your real tooth enamel, it is one of the safest ways to make your smile look better. Knowing how the process works can help you feel ready and excited to refresh your look.
What Is Dental Bonding Treatment?
This service uses a tough material called resin to fix the surface of a tooth. The resin is matched exactly to the color of your other teeth so that the fix looks totally real.
It is a great choice for hiding small flaws or covering a root that shows because of shrinking gums.
Unlike crowns that take weeks to make in a lab, this work is done right there in the chair. You get to walk out with a brand-new smile the same day you walk in.
Finding An Expert To Help Your Smile
When you look for dental bonding near you, it is important to find a team that is good at making things look natural. This job is a bit like art because the material is shaped by hand to look just like a real tooth.
A local office makes it easy to stop by for a quick talk to see if your teeth are ready for the resin. Most people love that this is the quickest way to see a big change without a long wait.
Step-By-Step Procedure of Dental Bonding
Step 1: Picking The Right Color
The first part of the visit is finding a shade that blends in perfectly. Your team will use a little color guide to check different resin colors against your natural teeth.
- Bright Light: The color is checked under different lights to make sure it matches.
- Blending: Sometimes, a few colors are mixed to make the tooth look real.
- Your Choice: You get to look at the color and agree before they start.
- No Shots: Most of the time, you don’t even need numbing medicine for this.
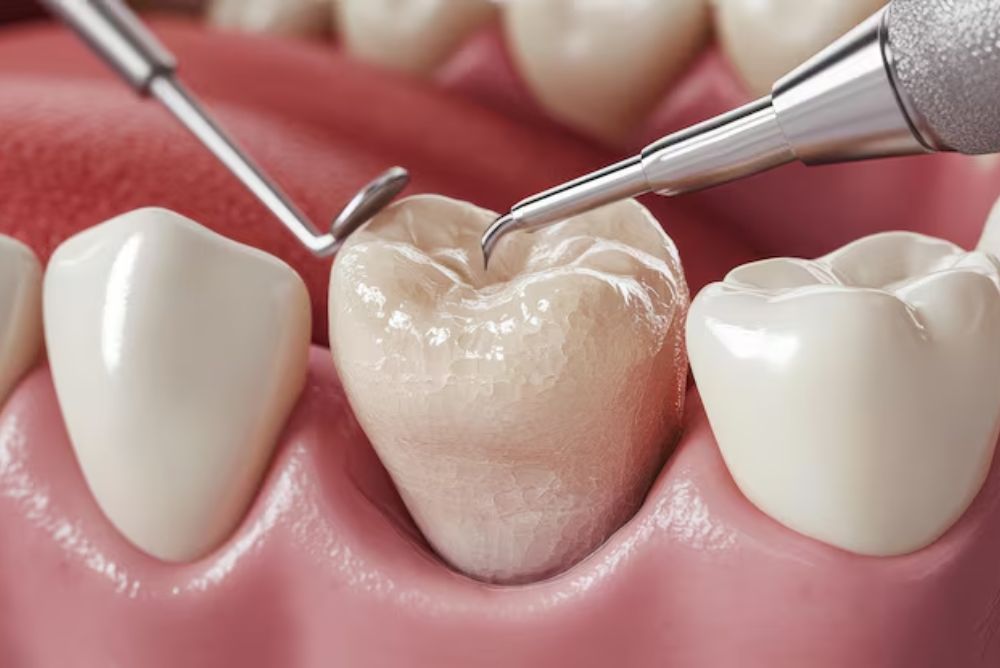
Step 2: Getting The Tooth Ready
Once the color is picked, the tooth must be cleaned and prepared. A dentist in Dacula will start by making the surface of the tooth a little bit rough. This does not hurt, but it helps the material stick better.
After that, a special liquid is brushed on. This liquid acts like glue, making sure the resin stays on your tooth for a long time so it doesn’t fall off when you are eating.
Step 3: Shaping And Hardening The Material
This is the part where your smile actually changes. The resin feels like putty, and it is put on the tooth and shaped by hand.
- Building Up: The material is put on in thin layers to get the right shape.
- Smoothing: The team smooths the edges so they feel good against your lips.
- Blue Light: A bright blue light is used to turn the soft putty into hard plastic.
- Checking: Once it is hard, the team can trim it more so it feels right when you bite.
Step 4: Polishing For A Bright Shine
The last step is making the new part look shiny. To make the resin look like a real tooth, a dentist near you will use special tools to polish it. This removes any rough spots and makes the tooth look glossy and bright like the others.
After the polishing is done, they will ask you to bite down to make sure the new material feels comfortable and doesn’t hit your other teeth too hard.
Comparing bonding to other choices
Here is how this fix compares to other popular ways people change their smiles.
| Feature | Dental Bonding | Veneers | Crowns |
| Time | 1 Visit | 2 or 3 Visits | 2 Visits |
| Tooth Scraping | Almost None | Some | A Lot |
| How long does it last | 3 to 10 Years | 10 to 15 Years | 15+ Years |
| Staining | Might Stain | Very Rare | Very Rare |
| Cost | Lowest | Higher | Higher |
How To Take Care Of Your New Smile
While the resin is strong, it can still break if you aren’t careful. To keep your teeth looking great, you should not bite your nails or chew on hard things like ice or pens.
It is also a good idea to stay away from coffee, tea, or soda for the first two days after your visit. This is because the resin can pick up colors easily right after it is hardened.
Brushing and flossing every day will keep the material bright and smooth for a long time.
Get A Smile You Love Today
At Lanier Valley Dentistry, we want to help you feel great about the way you look. Our team knows that even a small change can give you a huge boost of confidence.
We believe in making every visit comfortable and easy so you can enjoy your new smile. Whether you want to fix one chipped tooth or several teeth, we are here to help.
Reach out to us today to see how we can make your smile shine!
Frequently Asked Questions
Does getting dental bonding hurt?
Most people don’t feel anything at all because the work is done on the surface of the tooth. Numbing medicine is usually only used if there is a cavity to fix at the same time or if the tooth is very sensitive near the root.
How long will the appointment take?
It is a very fast process! It usually takes about 30 to 60 minutes for each tooth. This makes it a great choice for people who want a better smile but don’t have all day to sit in a chair.
Will the bonding stay the same color?
The resin can get stained over time, just like your real teeth, if you drink a lot of coffee or tea. Since whitening gels don’t work on the plastic resin, it is very important to keep it clean by brushing twice a day.
Can this fix a gap between my teeth?
Yes! This is one of the most popular ways to close small gaps between front teeth. The team adds a little material to the sides of the teeth to fill the space, giving you a straight smile without needing braces.